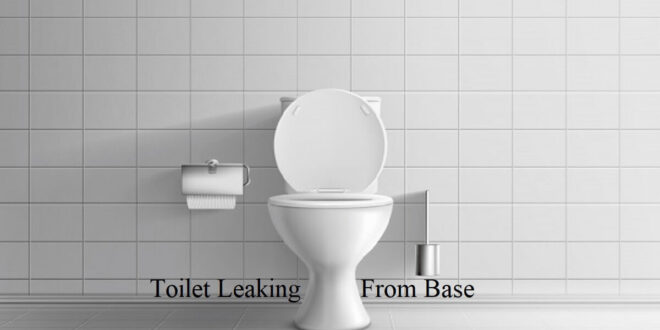
A toilet leaking at the base is a common issue that takes place at almost every home so it is better to fix it on your own instead of paying lots of money to a plumber.
Do you have a pool of water at your toilet base? If yes, this is not a good sign. It means your toilet leaking at the base. Rather than allowing a water pool to form in your bathroom, get rid of the rusty tool belt and fix the leak.
Reasons For Toilet Leaking at Base?
Below are some of the reasons why your toilet leaking at the base:
1. The Closet Bolts Securing Your Toilet Base To Your Floor May Be Loose
Are you aware of the plastic caps around your toilet base? Those caps cover the tee bolts that help in holding your toilet in place. When the tee bolts are broken or loose, your toilet seal is likely to break, leading to leakage.
Change your toilet position so that it is centered and leveled, and start to tighten your bolts. If the bolts are broken or continue spinning freely, replace them with new ones.
2. Damage In The Wax Gasket
It is mainly due to the toilet being loose, or the wax ring being in use for ages and is not flexible enough to provide a better seal.

$12.79
3. The Condensed Water On Your Toilet May Drip Onto Your Floor
This water in your toilet bowl and tank is frigid, and this cool temperature can lead to humid air in the room condensing hence dripping onto your floor. In case this happens, you will experience water droplets on the outer part of your tank and bowl.
Tools You Need
Tools and supplies you require to remove the water pool may vary based on what the cause was. It would be best if you had the following tools to Fix Toilet leaking at the base:
1. Tee Bolts For Replacement
2. Open-Ended Wrench
3. Toilet Tank Insulator
4. Bucket
5. Wax Ring For Replacement
6. Hacksaw
7. Work gloves
8. Sponge
9. Putty knife
10. Tile and tub caulk
Steps To Follow
1. Look Out For Condensation
It is easy to spot water puddling because of condensation since the moisture will be clear on your toilet bowl and tank. Usually, water will condense on your toilet tank because the water found on your toilet tank is colder compared to the one on your toilet bowl. We will focus on some techniques that can prevent this puddling.
a. Fix A Tray
The well-positioned drip tray is an affordable and simple way to prevent water from dripping onto your floor. It is a temporary solution as you seek a permanent solution.
b. Insulate The Toilet Tank
By insulating your toilet tank, you will be preventing the water inside from growing cold down your porcelain, hence reducing condensation.
Insulation is available in rolls, which can be split into panels suitable for the tank inside surfaces.
c. Change Your Bathroom Habits
It would be best if you had some bathroom habits like; leaving fans on, keeping the bathroom doors open when not in use; taking shorter and cooler showers that may help eliminate the humid air in your bathroom that causes condensation.
2. Tighten The Toilet Tee Bolts
Get rid of plastic covers at your toilet base, tighten your tee bolts, and be careful not to overtighten and break the porcelain. Use a box-end or adjustable open-end wrench.
In case your tee bolts are not tightening, you will be forced to remove the toilet and reposition it, installing a new wax gasket and new tee bolts.
In case this does not work, your wax ring may be worn out or damaged: you can go on to replace the wax gasket.
3. Buy A Wax Ring
Standard wax rings are made to fit almost all the toilets, but few toilet models vary. If you are not sure of the wax ring you need for the toilet, it is essential to describe the make of your toilet to the salesperson you find at the home center or hardware store to get help.
4. Disconnect Your Toilet
Start by closing your water supply to the toilet. Flush your toilet to get rid of the available water from your bowl and tank. Using a sponge, remove water that may have remained.
5. Remove Your Toilet
Grab the bowl rim below the toilet seat hinges, and softly rock your toilet back and forth to crack the wax seal. Lift your toilet from your floor, place it on a cardboard, or place it on a blanket.
It is important to have a helping hand to avoid damages to the toilet. After removing the toilet, check your toilet tee bolts, and buy a new case if corroded or rusty.
6. Get Rid Of The Previous Wax
Using the putty knife, scratch the wax gasket off your toilet bottom and your closet flange found on the floor.
Check the flange condition to ensure it is not bent or broken if you scrape off the wax and discover a large piece of your flange is broken. You will be forced to get rid of the old flange and replace it with a new one, which is not an easy task.
7. Install A New Wax Gasket
Take your new wax gasket and place it down on your closet flange, ensuring it is centrally positioned.

$7.88
8. Reinstall Your Toilet
It is now time to set your toilet back in the right place, grasp your toilet bowl near its seat hinges, lift your toilet and take it over the flange. Using closet bolts as your guides, place your toilet down on top of the wax ring. Slip your toilet washers over the closet bolts and tighten those nuts.
However, before you tighten the nuts, it is important to press down the rimmed bowl with a lot of pressure to compress your new wax ring.
Check keenly to ensure your back wall is parallel with the toilet tank; tighten the closet bolt to ensure each is hard to notice. Please press down the toilet bowl and tighten those nuts again to ensure they are good. Continue doing this to ensure the nuts are not loose when pressing down the toilet. Also, avoid the use of excessive pressure as this may crack your toilet.
9. Reconnect Your Water Supply
Reconnect the tube supplying water loose end to your shutoff valve. Open your valve as you flush your toilet severally. In case your toilet is leaking at the base, press down the toilet bowl and tighten those nuts a little more.
Verdict
In case you don’t experience leakage, use your toilet for a couple of days, then remove the closet bolt caps and retighten your nuts. The toilet will be in a good position after being used for a few days.
Hope you must have fixed the toilet leaking at the base by the above steps if not it is recommended to contact the professional plumber.