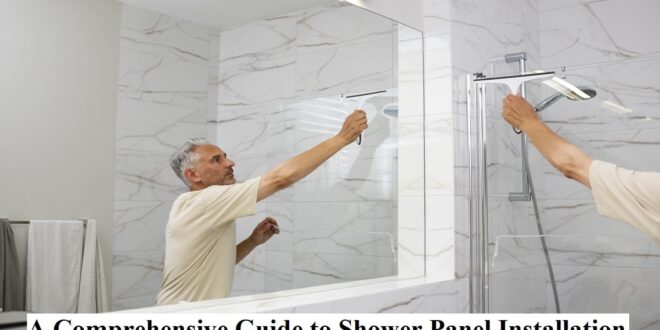
A shower panel is a great addition to any bathroom. Not only does it add a touch of elegance, but it also provides a luxurious showering experience.
However, installing a shower panel can be a daunting task, especially if you have no prior experience. In this comprehensive guide, we’ll take you through the step-by-step process of shower panels installation.
Before You Begin, Here are the Tools and Materials You’ll Need:
- Shower panel
- Wrench
- Screwdriver
- Teflon tape
- Pipe cutter
- Plumbers tape
- Silicone sealant
- Drill
Step 1: Turn Off the Water Supply
The first step in any plumbing project is to turn off the water supply. Locate the valve near your shower and turn it off. This will ensure that there is no water flowing to the showerhead during installation.
Step 2: Remove the Old Shower System
If you have an old shower system installed, you’ll need to remove it before installing your new shower panel. Start by removing the showerhead, faucet, and handles using a wrench and screwdriver. Be sure to turn off the water supply before attempting to remove any parts.
Step 3: Install the Mounting Bracket
The mounting bracket is used to attach the shower panel to the wall. Before you start drilling holes, make sure that the bracket is installed at the correct height and level. Use a level to ensure that the bracket is straight. Once you’re happy with the placement, mark the spots where the screws will go, and drill holes.
Step 4: Install the Water Supply Line
Install the water supply line according to the manufacturer’s instructions. Use Teflon tape to wrap around the threads to ensure a watertight seal. Be sure to use the correct size of pipe cutter to avoid damaging the supply line.
Step 5: Install the Shower Panel
With the mounting bracket and water supply line in place, you can now attach the shower panel to the wall. Use screws to secure the panel to the mounting bracket. Make sure that the panel is level before tightening the screws.
Step 6: Connect the Water Supply
Connect the water supply line to the shower panel. Use the plumber’s tape to wrap around the threads to ensure a watertight seal. Make sure that the connection is secure and that there are no leaks.
Step 7: Test the Shower Panel
Turn on the water supply and test the shower panel. Check for any leaks or issues with the water flow. If everything is working properly, then you have successfully installed your shower panel.
Conclusion
Installing a shower panel can be a challenging task, but with the right tools and instructions, it can be done easily. Follow the steps outlined in this guide, and you’ll be enjoying your luxurious shower panel in no time.
 Make Home Smart Let's Make Smart Home for Everyone!


